Real-time communication is essential for modern businesses, whether for customer support, internal collaboration, or user engagement. Developing a scalable and high-performance chat application requires the right technology stack.
Node.js development services combined with Socket.io have emerged as the preferred choices for building real-time applications due to their speed, efficiency, and seamless bidirectional communication.
Unlike traditional web applications stacks like LAMP (PHP) that rely on constant server polling, Socket.io ensures instant data transmission with minimal latency. This makes it ideal for businesses looking to enhance user interactions and optimize server performance.
In this guide, we will walk through the development process of building a chat application using Node.js and Socket.io, highlighting the key technologies and best practices involved.
Technological stack
1. WebSockets and socket.io
Websocket is a protocol which provides a synchronized mutual exchange between the server and the client.
In the classic case, client sends a request to the server and server responds by sending back the data.
In WebSockets, both the server and client can send data. It is a kind of two-way communication process.
Socket.io is nothing but a library based on this protocol which enables easier use of WebSockets.
3. The Javascript mafia
Node.js is a Javascript back-end technology that produces asynchronous codes wehich ar executed by the servers as PHP, Ruby or Python. It uses events to achieve this.
Node.js has its own package manager called npm which is easy to install, update, and delete.

Web structure
The primary objective is to setup a straightforward HTML website page that serves out a structure and a rundown of messages. We are going to utilize the Node.js web structure ensuring that it is installed.

Let us have the dependencies to be populated easily with the help of things that we require such as an npm install –save:
npm install –save express @4.10.2
Since we are done with installing express, now we can have our application setup by creating an index.js file.

What we did here is give below:
-
HTTP server supplied with a function handler initialized by Express.
-
As soon as website home hit, a route handler is called that is predefined.
-
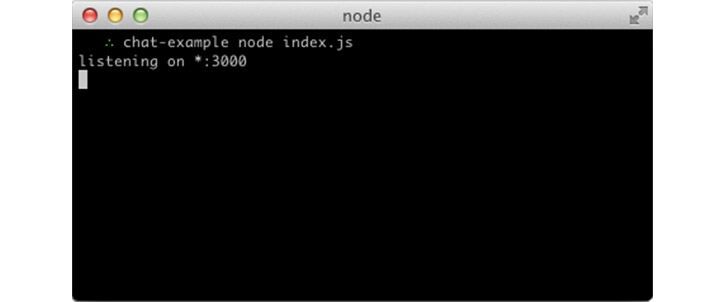
Port 3000 occupied with http server listen created by us. Following screen is displayed when node index.js executed:
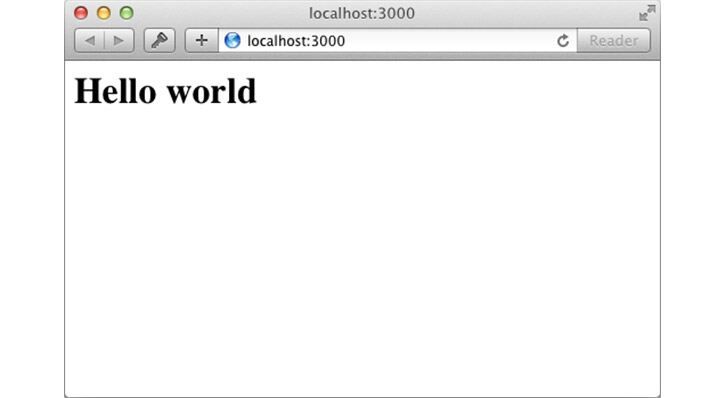
When https: //localhost: 3000: visited in your browser, you should see this:
HTML coding
Until this time, we have passed it into an HTML string after res.send called inside index.js.
It would be very confusing in terms of display, if the entire HTML code placed within. Hence, instead we will serve an index.html file after creating it.
To do this, let us use the sendFile through route handler refactoring:

And also perform index.html populating in parallel:
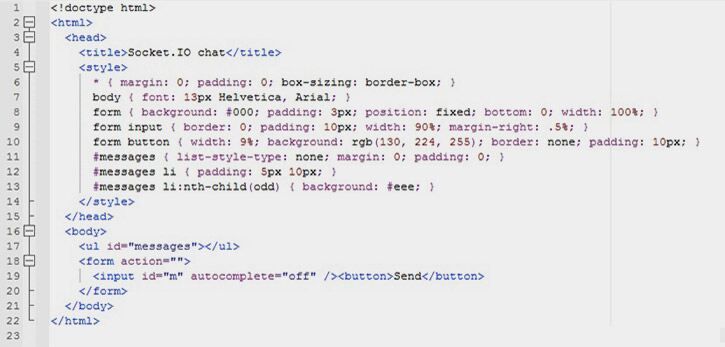
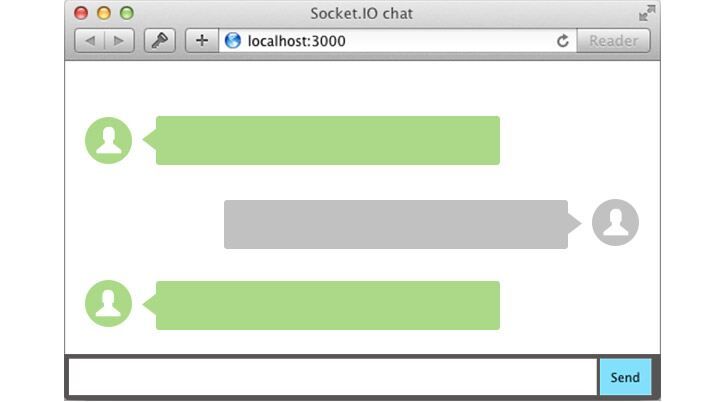
Refresh the page after the process restart (running node index after hitting Ctrl+C) and you should see something like this:
Socket.IO Integration
Two parts combine together to form Socket.io:
-
Node.JS HTTP Server: socket.io integration with a server
-
Socket.io-client browser side that loads a client library
Now only one module needs to be installed and the client is served automatically by Socket.io, while still in the development phase:
npm install –save socket.io
Let us now add after editing index.js. This is done for adding package.json dependency once module is installed.

Recognize that I instate another example of Socket.io through HTTP (the HTTP server) object passing.
At that point, I log in the incoming sockets connection event to the console. Presently in index.html, I included the accompanying snippet before the end of body:

This is all about loading the Socket.io-client, getting connected after uncovering an io worldwide.
Recognize that I’m not determining any URL when I call io(), since it defaults to attempting to connect with the host serving that particular page.
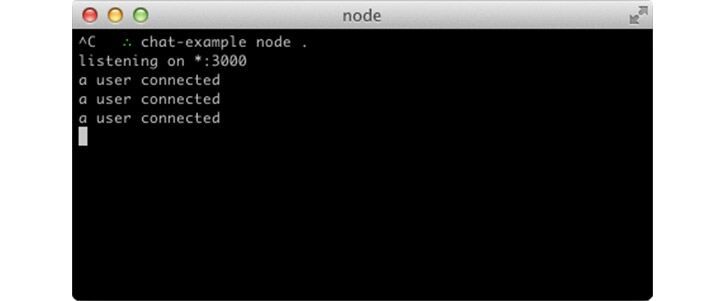
Now if both website and server is reloaded, you ought to see the message, “a user connected”. See same message few more times when several tabs opened together:
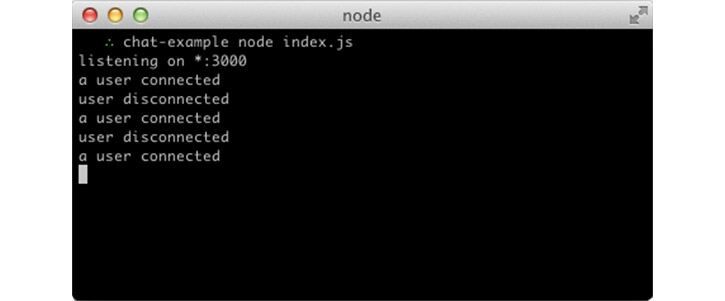
A peculiar disconnect event is also fired by every socket:

Now you can see the below change in messages after a tab is refreshed multiple times:
Emitting
The principle thought behind Socket.io is that you can receive and send as many events as you want, with any information you need. Any JSON encoded objects will work supported by binary data as well.
Let us just do it in a way wherein the server receives a chat message whenever the user types a message. Now the inindex.html section should be highlighted as below:

And the chat message event printed in index.js is as below:

Broadcasting
The final step is all users should get the message from the server when the event is emitted. An io.emit is given by the socket for targeting everyone with the message.
Make use of the broadcast flag if a certain socket is not to be targeted excluding it from a message being sent to everyone.

Let us send message to everyone including the sender as well for simplicity sake:

The message is included in the page once captured on the client side. The JavaScript code on the client side totals up by:

Hurray, we build our first chat application with just 20 lines of code.
Conclusion
Building a real-time chat application requires the right technology, and Node.js with Socket.io simplifies this process. In this guide, we explored how these technologies work together to enable seamless, low-latency communication. Without them, developing a responsive chat-based app would be far more complex.
For businesses looking to integrate real-time messaging, hiring dedicated Node.js developers is essential. A skilled team ensures scalability, security, and optimal performance, helping you build a chat solution tailored to your business needs.


